
If you’re exploring PS2 emulation, you’ve probably come across the term BIOS ROM for PS2. This small but essential file acts as the “brain” of the console inside your emulator, allowing you to run PlayStation 2 games on modern devices—whether it’s a PC, Android phone, or even a smart TV running RetroArch.
But not all BIOS ROMs are created equal. A corrupt, outdated, or pirated version can cause frustrating crashes, graphical bugs, or legal gray areas. That’s why it’s important to understand what the PS2 BIOS ROM actually is, how it works, and the right way to get and use it.
In this article, we’ll break everything down: from the basics of what a PS2 BIOS ROM does, to safe downloading tips, legal best practices, and emulator compatibility. Whether you’re a seasoned emulator user or just starting out, this guide will help you get your BIOS setup clean, secure, and ready to go.
Contents
- 1 What Is a BIOS ROM for PS2 and Why Is It Needed?
- 2 How the PS2 BIOS ROM Works with Emulators
- 3 Is It Legal to Use a PS2 BIOS ROM?
- 4 How to Dump Your Own PS2 BIOS Safely
- 5 Best Emulators That Require a PS2 BIOS ROM
- 6 Common BIOS ROM File Formats and Versions
- 7 Where to Store the BIOS ROM in Your Emulator
- 8 Troubleshooting BIOS ROM Errors in Emulation
- 9 Tips for Safe and Secure BIOS Storage
- 10 Final Thoughts
What Is a BIOS ROM for PS2 and Why Is It Needed?
A BIOS ROM for PS2 (short for Basic Input/Output System Read-Only Memory) is a small file that replicates the firmware of a real PlayStation 2 console. It’s what the actual PS2 hardware uses to boot up and run games. When you’re using a PS2 emulator—like PCSX2 or AetherSX2—you need this file to mimic the internal workings of the console so the emulator can behave like real hardware.
Think of it as the “startup brain” of the PlayStation 2. Without it, your emulator doesn’t know how to handle memory cards, boot discs, or even launch the games properly.
Many emulators are designed to be legally clean, meaning they don’t include the BIOS file by default. You have to provide your own. That’s why getting a proper, unmodified BIOS ROM is so important—not just for legality, but also for game performance and stability.
A proper PS2 BIOS ROM ensures:
- Better compatibility with game titles
- Fewer crashes or graphical bugs
- Accurate memory card and system menu behavior
- Access to emulator features like fast boot or BIOS-based system config
In short: the BIOS is essential if you want your emulator to feel—and work—like a real PS2.
How the PS2 BIOS ROM Works with Emulators
When you launch a PS2 emulator like PCSX2 or AetherSX2, one of the first things it looks for is a valid BIOS ROM file. That’s because the emulator doesn’t replicate the PS2’s firmware—it relies on the BIOS ROM you provide to handle those low-level operations.
Here’s how it works in simple terms:
- The emulator loads the BIOS ROM, which acts like the operating system of the PS2.
- It initializes virtual hardware, like memory cards, controllers, and disc drives, just as a real PS2 would during boot.
- Then, it uses the BIOS to boot your game disc or ISO, handling region checks, boot sequences, and system menus if needed.
Some emulators allow you to skip the BIOS screen and jump straight into gameplay using a “fast boot” mode—but behind the scenes, the BIOS is still doing its job. It handles things like save file detection, game region compatibility, and system configuration options.
Without the BIOS, the emulator simply won’t function properly—or may not even launch your game at all.
It’s the glue between the emulator and your game. And using a clean, properly dumped BIOS makes a huge difference in speed, performance, and graphical stability—especially with more demanding PS2 titles.
Is It Legal to Use a PS2 BIOS ROM?
This is one of the most asked—and most misunderstood—questions in emulation. The short answer is: Yes, it can be legal, but only under specific conditions.
To stay within legal and ethical guidelines, you must dump the BIOS ROM from a PlayStation 2 console that you personally own. This ensures you are using a copy of the firmware that belongs to hardware you’ve purchased, and you’re not distributing or downloading copyrighted files from the internet.
Here’s what’s important to know:
- Legal: Dumping your own PS2 BIOS using tools like BIOS dumper utilities or USB methods
- Illegal: Downloading a PS2 BIOS from a third-party site, file-sharing platform, or forum
- Illegal: Sharing your BIOS ROM file with others, even if you dumped it yourself
Most emulator developers (like the team behind PCSX2) make it clear: they won’t include BIOS files with their software due to copyright restrictions. That’s why users are expected to source their own BIOS legally.
In many countries, including the U.S., creating a personal backup of software or firmware you own is allowed under “fair use”—as long as it’s not distributed or used for piracy.
In summary: The safest and most legal way to use a PS2 BIOS ROM is to dump it yourself from your own console. It’s a one-time process that gives you a clean, stable BIOS file you can use across devices—and peace of mind that you’re doing it the right way.
How to Dump Your Own PS2 BIOS Safely
Dumping your own PS2 BIOS might sound complicated, but with the right tools, it’s actually a straightforward process—and it’s the only legal and reliable way to get a genuine BIOS ROM file.
Here’s how to safely dump your PS2 BIOS using a real console:
What You’ll Need:
- A working PlayStation 2 console
- A USB flash drive (FAT32 formatted)
- A method to run homebrew software (like Free McBoot or uLaunchELF)
- The BIOS dumper tool (you can find it on trusted emulator forums like PCSX2)
Step-by-Step Instructions:
- Install Free McBoot (or similar) on your PS2 memory card. This unlocks the ability to run homebrew software.
- Download the BIOS dumper and copy it to your USB flash drive. Tools like “dumpBIOS-MASS.ELF” are commonly used.
- Plug the USB into your PS2, launch uLaunchELF or Free McBoot, and run the BIOS dumper file.
- Follow the on-screen prompts. The tool will extract your BIOS and save it as a .BIN file (and possibly .MEC or .NVM) onto the USB.
- Remove the USB drive and copy the BIOS file(s) to your computer.
- Store the BIOS in a safe, clearly labeled folder, such as Documents/PS2/BIOS/.
Once dumped, you can now use this BIOS file with emulators like PCSX2 or RetroArch. This version will be clean, compatible, and most importantly—legally yours.
Best Emulators That Require a PS2 BIOS ROM
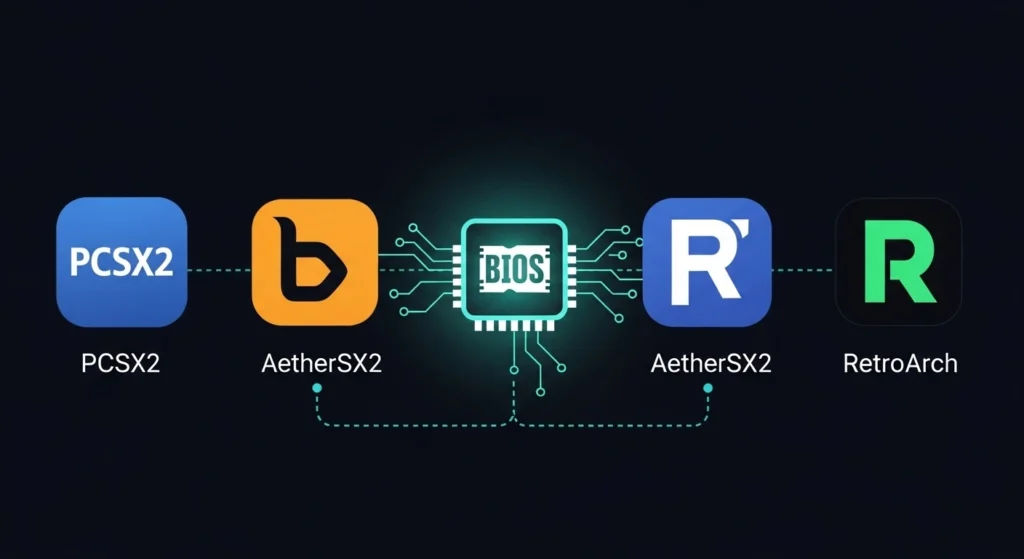
Once you’ve dumped your PS2 BIOS, you’ll need a reliable emulator to put it to use. Most PS2 emulators don’t include BIOS files by default, which means you’ll be required to provide your own.
Below are the most trusted and widely used emulators that support BIOS ROM integration:
PCSX2 (Windows, Linux, macOS)
PCSX2 is the most popular and mature PS2 emulator, offering excellent compatibility, high-definition rendering, save states, widescreen hacks, and more.
- BIOS required: Yes
- Where to place BIOS: /bios/ folder inside PCSX2 installation
- Supports: ISO, BIN, Disc, and Digital Save Files
AetherSX2 (Android)
A powerful emulator for mobile users, AetherSX2 is based on the PCSX2 codebase and optimized for touchscreens and Android hardware.
- BIOS required: Yes
- Placement: Through in-app BIOS configuration
- Supports: Gamepad, touchscreen, and advanced graphics settings
RetroArch (Multiplatform)
RetroArch is a multi-system frontend that supports PS2 via the PCSX2 core (on supported platforms). It requires setup but offers unified control over many consoles.
- BIOS required: Yes (same as PCSX2)
- Placement: system/ folder inside RetroArch directory
- Supports: Android, PC, macOS, SteamDeck
Play! (Experimental)
An experimental PS2 emulator that does not require a BIOS, but its compatibility is much lower compared to PCSX2 or AetherSX2.
- BIOS required: No
- Caution: Not recommended for accurate or serious emulation yet
If your goal is smooth, high-quality PS2 emulation, PCSX2 on desktop and AetherSX2 on Android are the top choices—both offering regular updates and full BIOS support.
Common BIOS ROM File Formats and Versions
Not all BIOS files are the same. Depending on how the BIOS was dumped—or where it originated—it might come in different file formats or represent different PS2 hardware regions and models.
Understanding these formats and versions can help you avoid emulator errors and compatibility issues.
Common BIOS File Formats
- .BIN — This is the most common and widely supported BIOS format. It contains the full binary image of the PS2’s firmware.
- .MEC / .NVM — These are often included alongside the .BIN file and store memory card or system configuration data. They’re not required by all emulators but help preserve system settings.
- .ISO or .IMG — Rare formats created when the BIOS is dumped as a disc image. Not always compatible—best to convert or redump to .BIN.
- Zipped (.ZIP, .RAR) — Some BIOS files come compressed. Always extract these before loading them into your emulator.
Different BIOS Versions (By Region)
Each PlayStation 2 model has a unique BIOS depending on its region and hardware revision:
- SCPH-39001 – NTSC-U (USA)
- SCPH-30004 – PAL (Europe)
- SCPH-50000 – NTSC-J (Japan)
Most emulators support multiple BIOS versions, but USA or European BIOS files (like SCPH-39001.BIN or SCPH-70004.BIN) are the most compatible with commercial games and offer wide emulator support.
For best results:
- Use a BIOS that matches your game region.
- Stick with verified BIOS dumps from known hardware models.
- Avoid “all-in-one” BIOS packs found online—they’re often corrupted or illegal.
Where to Store the BIOS ROM in Your Emulator
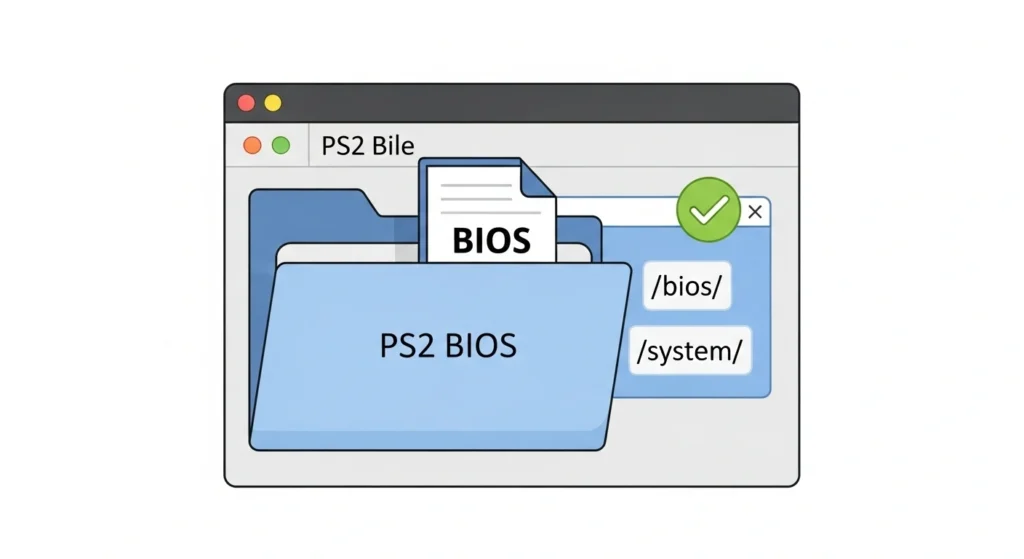
Once you’ve got a valid PS2 BIOS ROM, the next crucial step is placing it in the right folder within your emulator. If the BIOS file isn’t stored properly, the emulator won’t detect it—no matter how clean or legal it is.
Here’s a breakdown of where to place your BIOS ROM for the most popular PS2 emulators:
PCSX2 (Windows, Linux, macOS)
- Location: Inside the bios/ folder within your PCSX2 installation directory
- Example path:
C:\Program Files\PCSX2\bios\ - Setup tip: After placing the file, open PCSX2, go to Config > BIOS, and select it manually if not auto-detected.
AetherSX2 (Android)
- Location: Can be manually selected through the app’s BIOS setting screen
- Setup tip: When prompted, browse to the folder containing your BIOS .BIN file. AetherSX2 will scan and load it.
RetroArch (All Platforms)
- Location: Inside the system/ folder in the RetroArch directory
- Example path:
RetroArch/system/ - Setup tip: BIOS filename must match the expected hash or name (e.g., scph39001.bin). Check core documentation for exact naming.
General Advice:
- Don’t rename the BIOS file unless required by the emulator.
- Keep it uncompressed (no .zip or .rar formats).
- Always double-check file placement if the emulator says “No BIOS found.”
Proper file placement is what makes the BIOS actually usable—miss this step, and everything else falls apart.
Troubleshooting BIOS ROM Errors in Emulation
Even with the correct BIOS ROM file, you might run into errors when trying to run your PS2 emulator. Most of these issues are minor and easy to fix—if you know what to look for.
Here are the most common problems, along with their solutions:
“No BIOS Found” or “BIOS Not Detected”
Cause: The file isn’t in the correct folder or hasn’t been selected in the emulator.
Fix:
- Make sure the .BIN file is in the required directory (bios/, system/, etc.)
- Open the emulator’s settings and manually point to the BIOS file
- Ensure it’s not compressed (no .zip, .rar) and has the correct name
“Invalid BIOS” or “Checksum Mismatch”
Cause: The BIOS file is corrupted, incomplete, or edited.
Fix:
- Re-dump the BIOS from your console
- Compare the file’s hash (MD5 or CRC32) with known valid values from emulator forums
- Avoid downloading from unknown or shady sources
“Incompatible BIOS Version”
Cause: Using a BIOS from a different region or a very early/late model.
Fix:
- Use a region-compatible BIOS (e.g., SCPH-39001 for NTSC-U)
- Stick to well-supported versions like SCPH-70012, SCPH-50004, etc.
“Emulator Crashes on Boot”
Cause: Faulty BIOS file, emulator misconfiguration, or missing dependencies.
Fix:
- Try another emulator build (stable vs nightly)
- Update your emulator to the latest version
- Make sure required system files (e.g., .NET, Vulkan drivers) are installed
Taking a few minutes to check the BIOS file’s health and placement often resolves 90% of the issues. Keep a backup of a working BIOS to avoid repeating these steps later.
Also, read PS BIOS Claim Tool
Tips for Safe and Secure BIOS Storage
Once you’ve dumped or obtained a clean, working PS2 BIOS ROM, your next step should be protecting it. Losing or corrupting your BIOS file means going through the setup process all over again—and potentially exposing yourself to unsafe re-downloads.
Here are some simple but smart ways to keep your BIOS secure:
1. Organize with Clear Folder Names
Create a dedicated folder structure like: Documents/Emulators/PS2/BIOS/
Name your BIOS files by region or console model (e.g., scph39001_usa.bin) to avoid confusion if you collect multiple versions.
2. Backup to the Cloud
Use Google Drive, Dropbox, or another secure cloud platform to save a backup copy. That way, if you format your system or change devices, your BIOS is just a download away.
3. Avoid Tampering
Never open or edit the BIOS file. BIOS ROMs are binary files—not meant to be altered. Even a small change can break compatibility with your emulator.
4. Keep It Offline
To minimize risk, avoid uploading your BIOS file to forums, group chats, or public file hosts. Even well-meaning sharing can cross legal lines.
5. Use Write-Protected Storage (Optional)
If you’re especially cautious, save your BIOS file to a USB stick or SD card with write-protection enabled. This prevents accidental overwrites or corruption.
Treat your BIOS ROM like a digital key. Once it’s clean and working, protect it—and you’ll rarely need to think about it again.
Final Thoughts
A PS2 BIOS ROM may seem like a small technical file, but in the world of emulation, it’s the heart of the system. Without it, your emulator is just an empty shell—powerful, but incomplete. With it, you unlock a stable, high-performance gateway to one of the greatest game libraries of all time.
From boot screens to memory card support, region handling to graphical accuracy, the BIOS is responsible for giving your emulator that authentic PlayStation 2 behavior. And when you use a legally dumped, properly configured BIOS, you’ll notice fewer glitches, smoother gameplay, and better overall compatibility.
Just remember:
- Always dump your BIOS from a console you own
- Store it securely and label it clearly
- Avoid downloading unverified files online
- Use trusted emulators like PCSX2, AetherSX2, or RetroArch
With a clean BIOS and a solid emulator, your favorite PS2 titles—whether it’s God of War, Shadow of the Colossus, or Final Fantasy X—will play just as you remember them, or even better.
So take a little time to get your BIOS right. It’s the foundation that turns good emulation into great gaming.
Jaiden Smith
Hi, I’m Jaiden Smith — the owner of PSBIOS.us. I’ve built this platform to make it easy and safe for users to access PlayStation BIOS files for emulators. Whether you're looking to enhance your retro gaming setup or just need a reliable BIOS source, I personally ensure everything here is clean, secure, and up-to-date.