
If you’re diving into PlayStation 1 emulation, you’ve likely come across the term “BIOS” and wondered which PS1 BIOS to use. A BIOS file is essential—it’s like the system’s firmware, allowing the emulator to run games properly and with better compatibility.
Whether you’re using ePSXe, DuckStation, or RetroArch, the right BIOS can significantly improve gameplay accuracy and reduce glitches. But with so many versions out there—like SCPH1001, SCPH5501, and more—it’s easy to get confused. Choosing the right one isn’t just about performance; it’s also about legal and ethical use.
In this guide, we’ll walk you through everything you need to know about selecting the right PS1 BIOS. From which files are most compatible with top emulators, to how region-specific BIOS files impact gameplay—we cover it all in simple, clear language.
Let’s get started and help you set up your emulator the right way.
Contents
- 1 What Is a PS1 BIOS and Why Do You Need It?
- 2 Is It Legal to Use a PS1 BIOS?
- 3 Most Recommended PS1 BIOS Files (With Names)
- 4 Which PS1 BIOS Works Best with Popular Emulators?
- 5 NTSC vs PAL BIOS: What’s the Difference?
- 6 How to Check If Your Emulator Recognizes the BIOS
- 7 Where Do I Place the BIOS File in My Emulator Folder?
- 8 Tips for Getting the Best Performance with PS1 BIOS
- 9 Final Thoughts: Which PS1 BIOS Should You Use?
What Is a PS1 BIOS and Why Do You Need It?
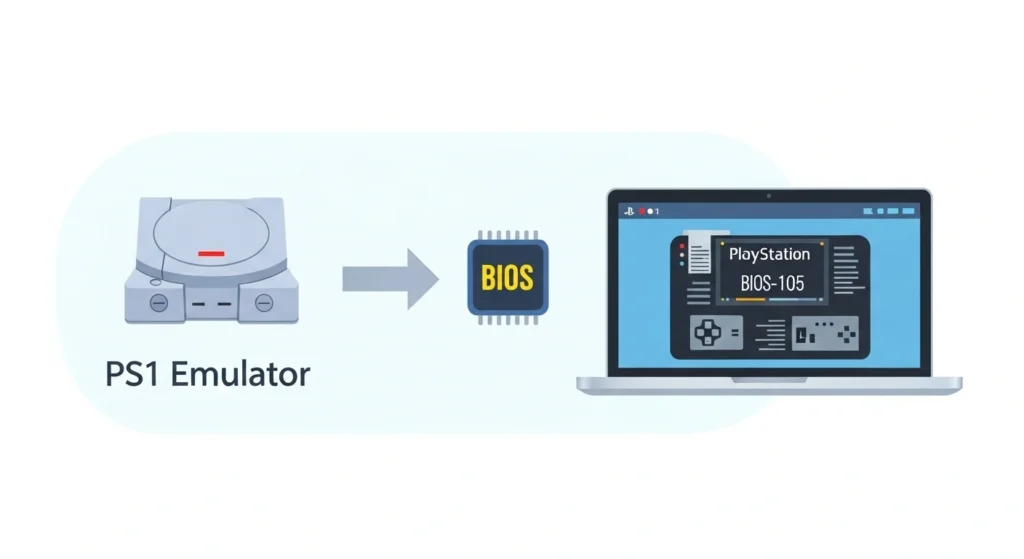
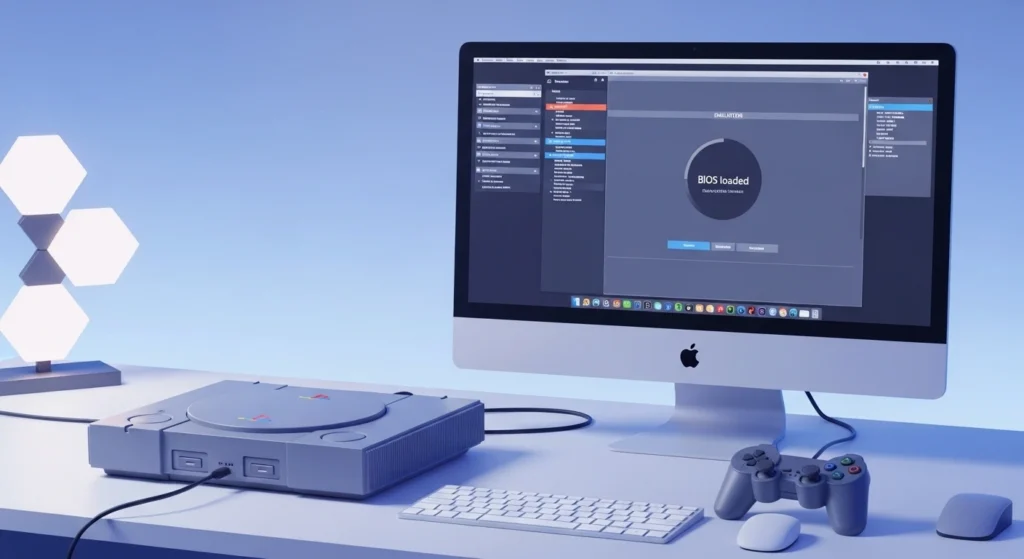
A PS1 BIOS (Basic Input/Output System) is a critical file that acts like the PlayStation’s internal operating system. When you turn on a real PlayStation console, the BIOS is what starts up first—it checks the hardware, runs the Sony logo animation, and then loads the game. Emulators like ePSXe, DuckStation, and RetroArch use a BIOS file to replicate this process virtually, helping them run PS1 games more accurately.
Without a BIOS file, many emulators either won’t start games at all or will suffer from compatibility issues. You might experience missing sound, graphic glitches, or even crashes. Some emulators offer a “HLE BIOS” (High-Level Emulation), which mimics the BIOS without needing the actual file, but this method is often less accurate and not compatible with all games.
Using a real PS1 BIOS file ensures the best possible gaming experience. It improves compatibility, reduces bugs, and makes the emulator behave much more like an actual PlayStation. For serious retro gamers or anyone wanting the most authentic experience, a proper BIOS is not just optional—it’s essential.
Is It Legal to Use a PS1 BIOS?
This is one of the most important—and most misunderstood—parts of using a PS1 BIOS. The short answer is: it depends on how you obtain it.
The PS1 BIOS is copyrighted software created by Sony. That means downloading it from random websites or file-sharing platforms is not legal, even if you’re just using it for personal gaming. Distributing or obtaining BIOS files this way violates copyright laws in most countries.
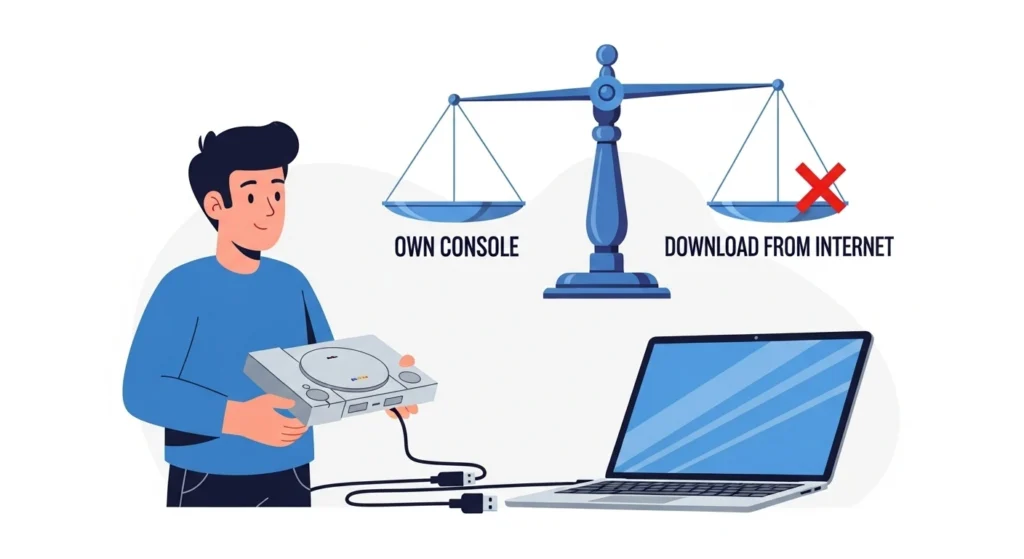
However, if you own an original PlayStation console, you are allowed—under fair use or similar exceptions—to dump the BIOS from your own hardware for personal use. There are tools and guides available online that show how to extract your own BIOS file using hardware like a modified PlayStation or specialized USB devices.
In short:
- Legal if you dump it from your own console for personal use.
- Illegal if you download it from the internet, even if you own a PS1.
Always remember: respecting copyright is part of being a responsible emulator user.
Most Recommended PS1 BIOS Files (With Names)
When it comes to PS1 emulation, not all BIOS files are created equal. Some are more compatible and reliable than others, especially across different emulators and game regions. Here are the most trusted and widely used PS1 BIOS files among the emulation community:
- SCPH1001 – This is arguably the most popular North American (NTSC-U) BIOS. It’s highly compatible with most emulators and often recommended for ePSXe and RetroArch users.
- SCPH5501 – Another solid NTSC-U BIOS option, commonly used and considered stable. Some emulators even list it as their preferred file.
- SCPH7001 – A later NTSC-U BIOS with strong compatibility. Slightly larger in size, but often works better with newer emulators like DuckStation.
- SCPH7502 – The go-to choice for European (PAL) games. Ideal if you’re planning to play region-specific titles from Europe.
- SCPH1000 or SCPH5500 – These are Japanese BIOS files (NTSC-J), useful for playing original Japan-only games with accurate behavior.
In general, SCPH1001 (for NTSC-U) and SCPH7502 (for PAL) are safe default choices for most users. It’s also fine to include multiple BIOS files in your emulator folder—some emulators will auto-select the correct one based on the game you’re playing.
Also, read PS BIOS Claim Tool
Which PS1 BIOS Works Best with Popular Emulators?
Different emulators handle BIOS files in slightly different ways. While most major PS1 emulators support multiple BIOS versions, certain ones perform better depending on the emulator you’re using. Here’s a quick breakdown of what works best:
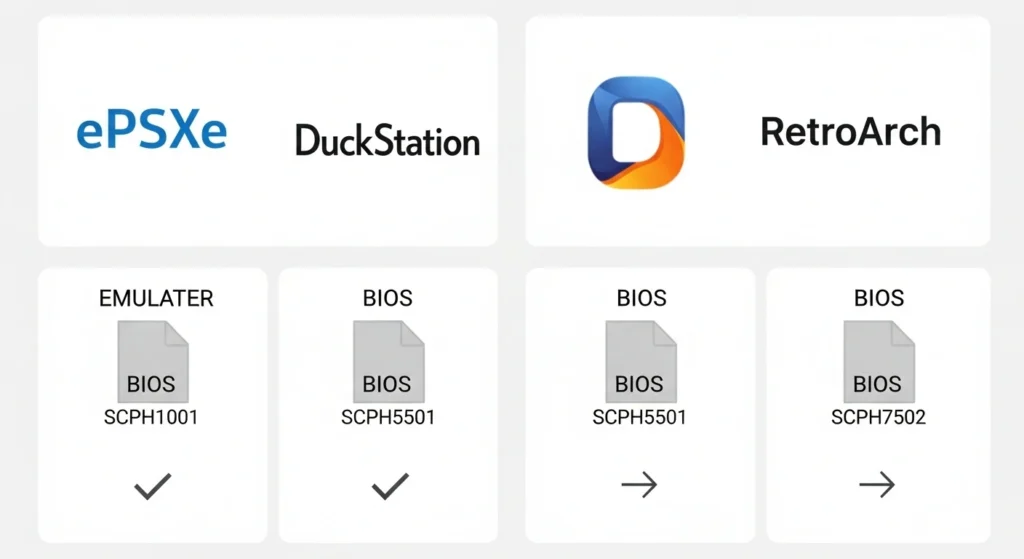
ePSXe
For ePSXe, the most recommended BIOS is SCPH1001. It offers excellent compatibility and is often the default choice in many setup guides. You can also use SCPH5501 or SCPH7001 with similar results, but SCPH1001 tends to be the most stable.
DuckStation
DuckStation is one of the most modern and actively developed PS1 emulators. It supports multiple BIOS versions, but users often report the best performance using SCPH7001 or SCPH5501. These BIOS files ensure accurate audio/video timing and smoother gameplay.
RetroArch (Beetle PSX Core)
With RetroArch, the Beetle PSX HW and Beetle PSX cores require a valid BIOS to function properly. The best practice is to include all three regional BIOS files:
- SCPH5500 (Japan)
- SCPH5501 (USA)
- SCPH5502 (Europe)
RetroArch will automatically select the correct BIOS based on the game region. This setup ensures maximum compatibility across your library.
In summary, while many BIOS files will work, matching the emulator with the most stable BIOS file improves performance and avoids unexpected issues.
NTSC vs PAL BIOS: What’s the Difference?
When choosing a PS1 BIOS, you might notice terms like NTSC and PAL. These refer to different television standards used in different regions of the world—and yes, they matter in emulation.
- NTSC stands for National Television System Committee and was used in North America and Japan.
- PAL stands for Phase Alternating Line and was used across Europe, Australia, and parts of Asia.
The BIOS file you choose should ideally match the region of the game you’re playing. For example:
- Use an NTSC BIOS like SCPH1001, SCPH5501, or SCPH7001 for U.S. and Japanese games.
- Use a PAL BIOS like SCPH7502 for European games.
Here’s why this matters:
- Some PAL games were designed to run at 50Hz, which can cause speed issues if run with an NTSC BIOS.
- NTSC games running with a PAL BIOS might display incorrectly or fail to boot.
Most emulators won’t stop you from mixing regions, but doing so could result in poor performance or bugs. For the best results, match your BIOS region with the game’s region.
How to Check If Your Emulator Recognizes the BIOS
Once you’ve added the BIOS file to your emulator, it’s important to make sure it’s actually being detected and used. If your emulator doesn’t recognize the BIOS, you might face issues like games not loading, crashing, or missing audio.
Here’s how to check BIOS recognition in some of the most popular emulators:
ePSXe
- Open ePSXe and go to Config > BIOS.
- If the BIOS is properly placed in the bios folder, you’ll see a list of available BIOS files.
- Select one (like SCPH1001) and hit OK.
- You can also test it by running a game—if the Sony logo appears before the game loads, the BIOS is working.
DuckStation
- Go to Settings > BIOS.
- Click “Add BIOS Directory” and select the folder where your BIOS files are stored.
- DuckStation will scan the folder and list any valid BIOS files.
- Make sure the detected BIOS is highlighted or set as default.
RetroArch
- Place BIOS files in the system folder inside your RetroArch directory.
- Open the Beetle PSX core and load a game.
- If the BIOS is working, RetroArch will automatically use the correct one—look for the Sony logo at startup.
- You can also check Logs to confirm which BIOS file was used.
If nothing shows up or your emulator can’t detect the BIOS, double-check that:
- The file name is correct (e.g., SCPH1001.BIN).
- The BIOS is in the correct folder.
- The file isn’t corrupted.
Also, read How to Set Up PS2 BIOS in RetroArch for Android
Where Do I Place the BIOS File in My Emulator Folder?
Placing your PS1 BIOS file in the correct location is crucial—if it’s not in the right folder, the emulator won’t detect it, even if the file itself is valid.
Here’s how to do it for the most commonly used emulators:
ePSXe
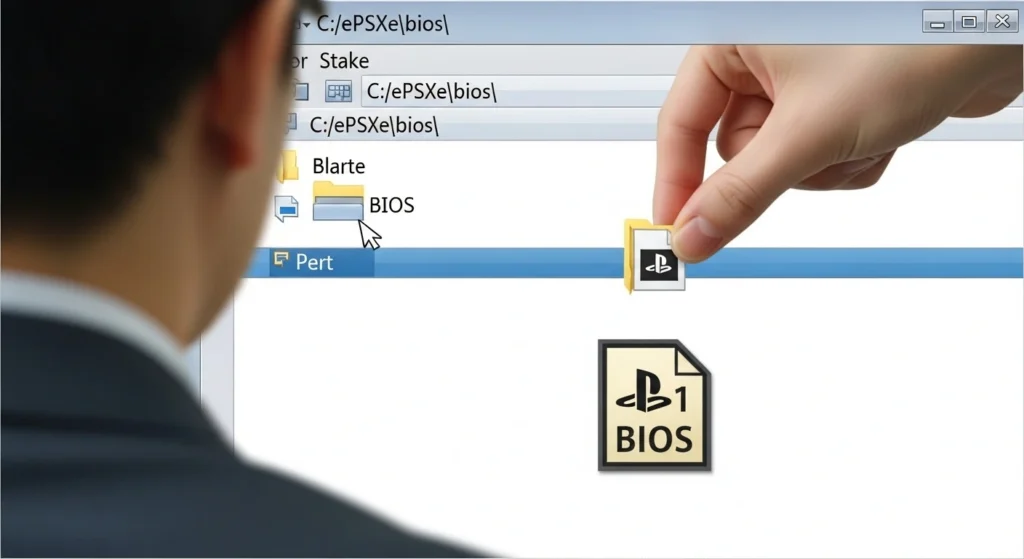
- Place the BIOS file (like SCPH1001.BIN) inside the bios folder located in the main ePSXe directory.
- Example path: C:\ePSXe\bios\
- After placing the file, open ePSXe and select it through the BIOS configuration menu.
DuckStation
- Open DuckStation and go to Settings > BIOS.
- Click “Add BIOS Directory” and choose the folder where you placed your BIOS files.
- Recommended path: C:\Users\YourName\Documents\DuckStation\bios\
- DuckStation will automatically scan and recognize any valid BIOS files in that folder.
RetroArch
- Place the BIOS files inside the system folder within your RetroArch installation.
- Example path: C:\RetroArch\system\
- Make sure the filenames are exact (e.g., SCPH5501.BIN, SCPH5502.BIN)—RetroArch is sensitive to typos and case mismatches.
General Tips
- Always double-check the file extension—it should be .BIN (not zipped or renamed).
- Avoid placing BIOS files inside the same folder as ROMs unless the emulator allows it.
- Don’t rename the file unless the emulator specifically asks for a certain name.
Once the BIOS is correctly placed, launch your emulator, configure BIOS settings if needed, and test by loading a game. If you see the original Sony PlayStation logo, you’re good to go.
Tips for Getting the Best Performance with PS1 BIOS
Even with the right BIOS file, you can still run into performance issues if your emulator settings aren’t properly configured. Here are some helpful tips to get the best experience when using a PS1 BIOS:
Use the Right BIOS for the Game Region
Matching the BIOS region (NTSC or PAL) with the game’s region ensures smoother gameplay and avoids speed or display issues.
Enable Accurate CD-ROM Timing (if available)
Some emulators offer this option, especially DuckStation and Beetle PSX. Enabling accurate CD-ROM timing improves loading behavior and game compatibility—especially for FMV-heavy titles.
Keep Your Emulator Updated
New versions often include better BIOS compatibility, bug fixes, and performance improvements. Always download updates from the official source.
Don’t Overload with Shaders or Enhancements
While graphical enhancements like upscaling and shaders are tempting, they can stress your system. For smooth performance, start with default settings and add effects gradually.
Use Hardware Renderers (Where Possible)
Choose a hardware renderer (like OpenGL or Vulkan) if your GPU supports it. These are usually faster and more stable than software-based rendering.
Verify BIOS Integrity
If your BIOS isn’t working as expected, it could be a corrupted file. Re-dump it from your console if possible, or use a verified checksum to confirm its authenticity.
Place BIOS in a Dedicated Folder
Avoid clutter. Keep your BIOS files organized in a single emulator-specific folder, so you don’t accidentally use the wrong one.
These small steps go a long way in making your PS1 emulation smoother, more stable, and closer to the real console experience.
Final Thoughts: Which PS1 BIOS Should You Use?
If you’re looking for the safest, most compatible choice across emulators, SCPH1001 (NTSC-U) remains the go-to BIOS for most users. It’s widely supported, highly stable, and works seamlessly with popular emulators like ePSXe and DuckStation.
However, if you’re using RetroArch, it’s a good idea to include all three regional BIOS files—SCPH5500 (Japan), SCPH5501 (USA), and SCPH5502 (Europe)—so the emulator can automatically match the right BIOS to your game’s region.
Here’s a quick summary to help you decide:
- Best overall: SCPH1001 (NTSC-U)
- For RetroArch users: SCPH5500, SCPH5501, SCPH5502
- For European games: SCPH7502 (PAL)
- For Japanese exclusives: SCPH1000 or SCPH5500 (NTSC-J)
Remember: always use legally sourced BIOS files—either by dumping them from your own console or verifying their authenticity. A good BIOS setup is the foundation of a great PS1 emulation experience.
Once you’ve got it in place, you’re ready to enjoy classic PlayStation games with excellent performance and accuracy.
Jaiden Smith
Hi, I’m Jaiden Smith — the owner of PSBIOS.us. I’ve built this platform to make it easy and safe for users to access PlayStation BIOS files for emulators. Whether you're looking to enhance your retro gaming setup or just need a reliable BIOS source, I personally ensure everything here is clean, secure, and up-to-date.